
/ Tutorials
How to Install Shopify Liquid Snippets (Step-by-Step)
Introduction
Adding a Liquid snippet to Shopify is one of those tasks that looks intimidating the first time and feels obvious the third time. Once you know the layout of the theme editor and the safe places to paste code, you can install almost any snippet from MCO Hub in under five minutes.
This guide walks through the entire process: making a backup, opening the editor, choosing the right file, pasting the code and avoiding the mistakes that break themes.
Step 1: Back up your theme
Before touching any code, duplicate your live theme. In Shopify, go to Online Store → Themes. Click the three-dot menu next to your live theme and choose Duplicate. Rename the duplicate to something like "Live backup — June 2026".
If a snippet breaks something, you can publish the backup with one click and your store is back to normal. Skipping this step is the most common mistake new merchants make.
Step 2: Open the code editor
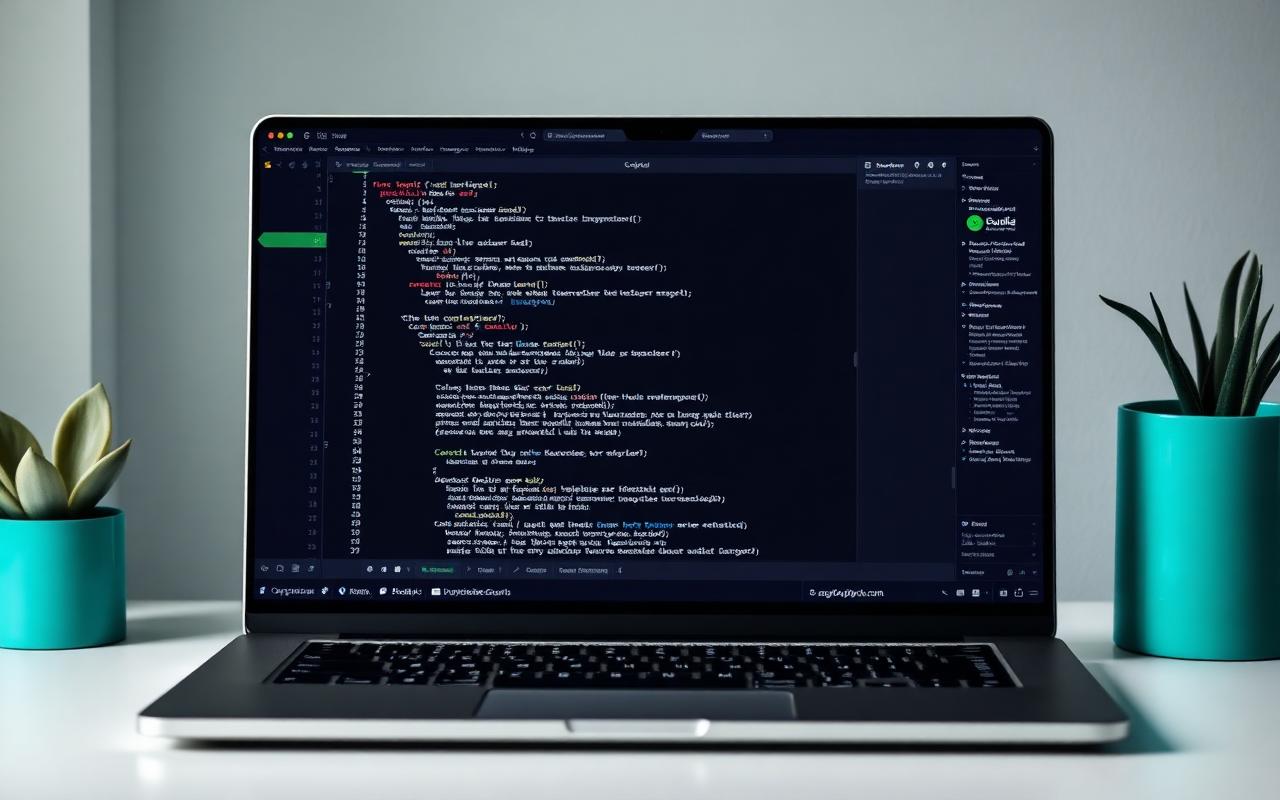
From Online Store → Themes, click Actions → Edit code on the live theme (or on a separate working copy). You will see a tree of folders: Layout, Templates, Sections, Snippets, Assets and Config.
For most MCO Hub snippets you have two options. You can either paste the code into an existing section, or add a Custom Liquid block from the theme editor itself — which is much safer.
Step 3: Use a Custom Liquid section
Shopify 2.0 themes (Dawn, Sense, Studio and most modern themes) include a Custom Liquid block out of the box. Open Online Store → Customize, navigate to the product page or wherever you want the snippet, and click Add block → Custom Liquid.
Paste the snippet code into the Custom Liquid box and click Save. This isolates your snippet from the rest of the theme, so if you ever want to remove it, you simply delete the block.
Step 4: Editing the code directly
Some snippets — such as announcement bars or sitewide trust strips — need to live in a specific file like header.liquid or theme.liquid. In that case, open the file in the code editor, paste the snippet where the install notes say, and save.
Each snippet on MCO Hub includes an install note with the exact location. Read it once before pasting.
Best practices
Following a few habits will save you hours of debugging.
- Always work on a duplicate theme when testing new snippets.
- Paste one snippet at a time and preview before adding the next.
- Keep a short note of each snippet you have added and where.
- Test on mobile — most issues only show up at smaller screen sizes.
- Use the browser preview link Shopify gives you, not just the in-admin preview.
Common mistakes
The most common issues are usually small. A missing closing tag, pasting into the wrong file, or forgetting to save. If a page suddenly shows a Liquid error, the message itself usually points at the line — read it carefully before reverting.
If nothing seems to work, publish your backup theme to get back to a clean state, then try the snippet again with a fresh duplicate.
Conclusion
Installing Liquid snippets is a basic skill that pays off across the lifetime of your store. Once you have done it three or four times it becomes second nature, and you can confidently try any of the 180+ free snippets in the MCO Hub library.
Related resources
Guides
Deals & Discounts